5.9 ESP32 Remote Download Tutorial - Macos
1.The timeout value for the esptool.py provided by ESP is too small. Remote program downloads often fail due to network latency or fluctuations, making it unsuitable for network access. Therefore, the timeout for esptool.py has been modified.
2.PowerDebugger has been upgraded and optimized for ESP remote downloads.
1. Python Download & Installation
1.1 Download and Install
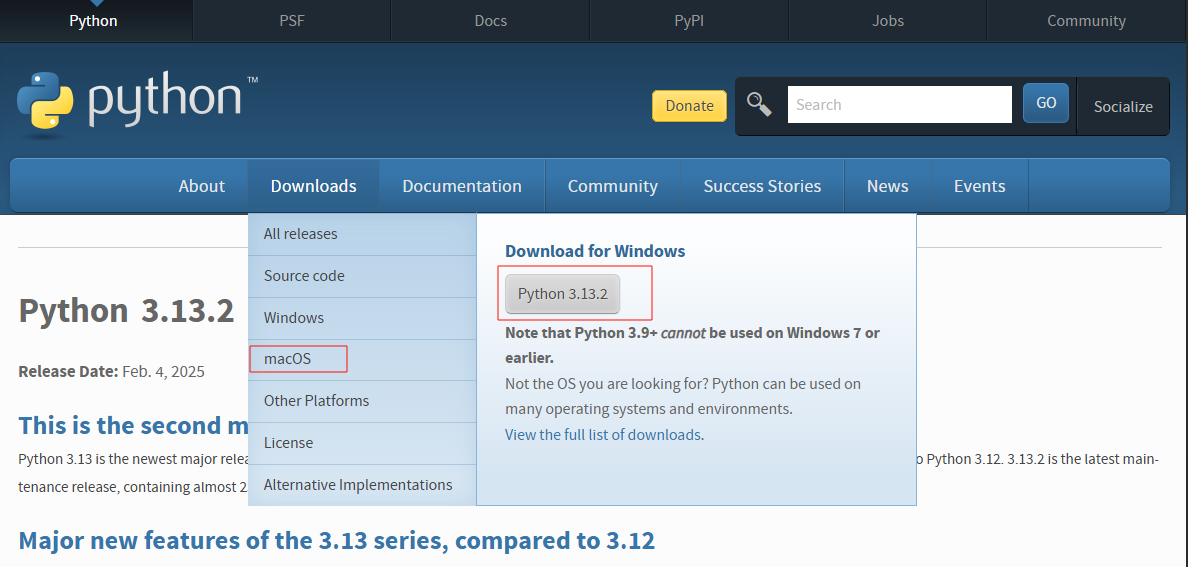
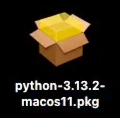
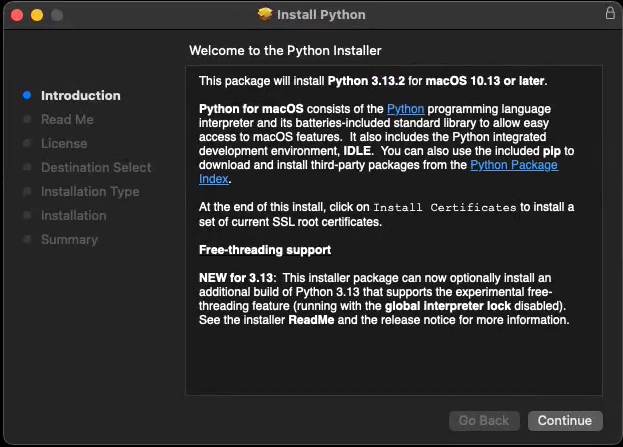
1.1.1.Visit the official Python website https://www.python.org/ To download the Python installer for macOS (usually a .pkg file). Open the downloaded .pkg file and follow the installation wizard to complete the installation.(The examples provided in this section are based on Python version 3.13.2. Users may test with other versions as needed for verification.)
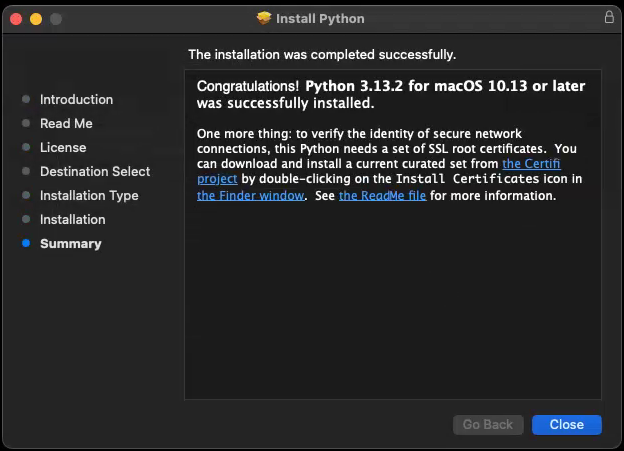
1.1.2.After installation, open the terminal and check the Python version.
Start the terminal
$ python3 --version
1.2 Install Required Dependencies
1.2.1.Update PIP
$ pip3 install --upgrade pip
1.2.2.Install intelhex
$ pip3 install intelhex
1.2.3. Install pyserial
$ pip3 install pyserial
If you encounter timeout errors during the pip installation process, it is because the network request timeout for pip is too short. You can resolve this issue by increasing the timeout duration:
$ pip3 --default-timeout=1000 install xxxxx
here, --default-timeout=1000 sets the timeout duration to 1000 seconds.
2. Esptool Installation | Cloning
2.1 PIP Installation
Start the terminal
$ pip3 --default-timeout=1000 install esptool
$ esptool --version
2.2 Clone the Source Code
Start the terminal
$ git clone https://github.com/espressif/esptool.git
Esptool Online Documentation:Esptool.py Documentation - ESP32 - — esptool.py latest documentation
Esptool Git Repository:GitHub - espressif/esptool: Espressif SoC serial bootloader utility
3. Adjust Esptool Timeout
Due to the uncertain network status when downloading firmware remotely, it is necessary to manually adjust the esptool.py serial port timeout configuration.
Configuration file path on Macos: /Users/<user>/.config/esptool/
Macos:
#!/bin/bash

CONFIG_DIR="$HOME/.config/esptool"
CONFIG_FILE="$CONFIG_DIR/esptool.cfg"

if mkdir -p "$(dirname "$CONFIG_FILE")" ; then
    echo "Directory created successfully."
else
    echo "Failed to create directory. Exiting."
    exit 1
fi

cat <<EOL > "$CONFIG_FILE"
[esptool]
timeout=180
sync_timeout=10
md5_timeout_per_mb=80
erase_region_timeout_per_mb=80
erase_write_timeout_per_mb=80
mem_end_rom_timeout=10
serial_write_timeout=10
connect_attempts=10
write_block_attempts=10
EOL

echo "Esptool configuration file created at: $CONFIG_FILE"
read -p "Press Enter to continue..."
Save this script as esptool_config.sh, set the file permissions, and execute it.
Start the terminal
$ cd ~/Desktop
$ chmod +x esptool_config.sh
$ ./esptool_config.sh
Configuration Documentation:Configuration File - ESP32 - — esptool.py latest documentation
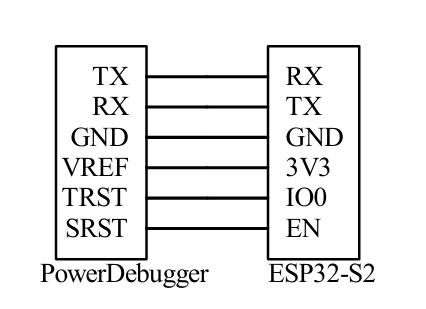
4. Wiring
5. PowerDebugger Installation & Setup
5.1 Install the customized version of PowerDebugger (ESP32 remote)
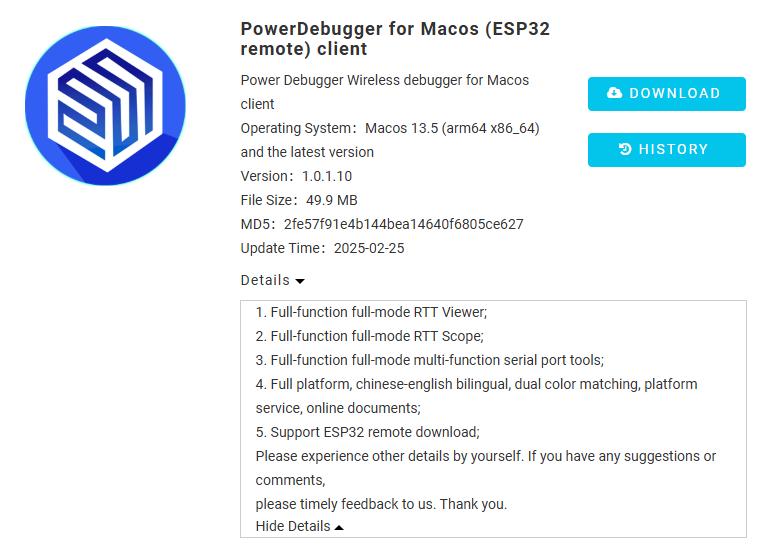
Download link: https://qn-upload.powerwriter.com/uploads/client/powerdebugger_for_mac_esp32/20250219/163156/PowerDebugger_install_1.0.1.10.dmg
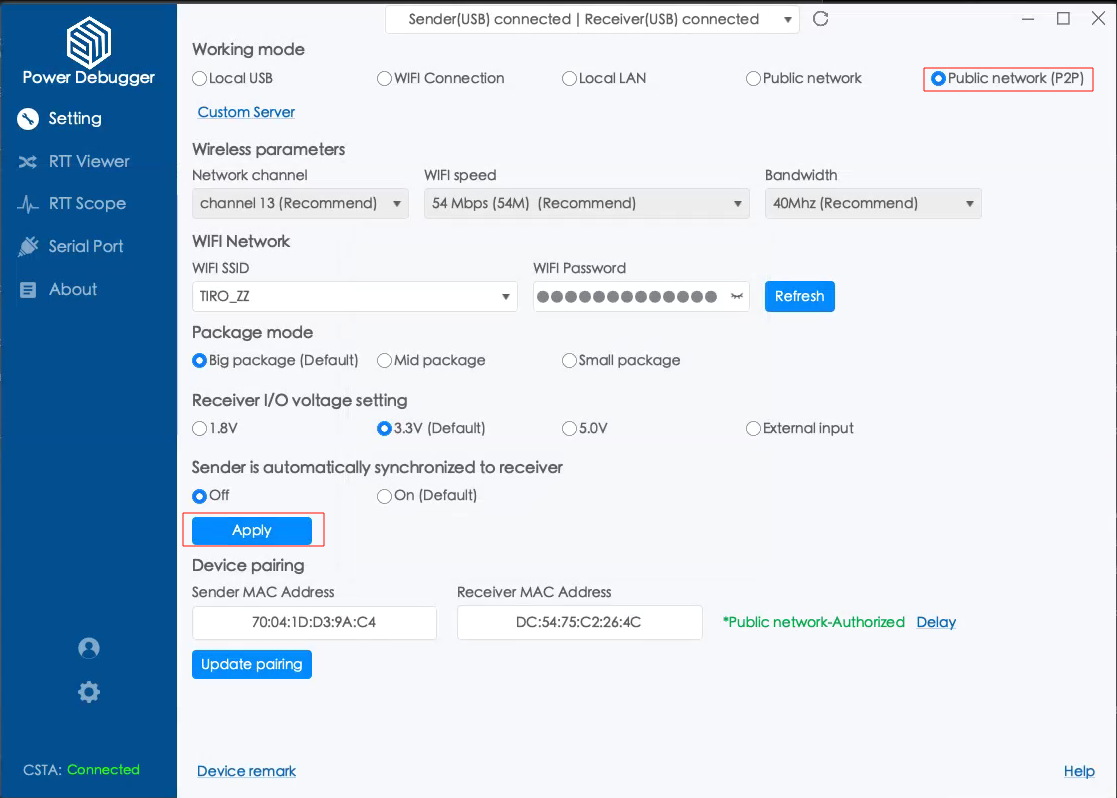
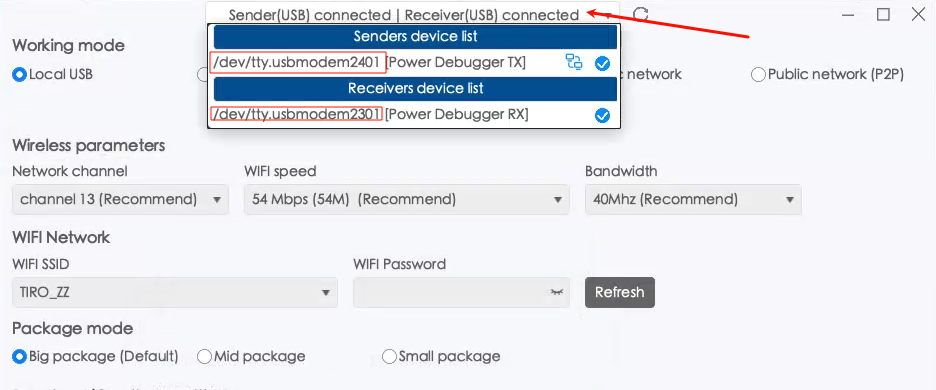
5.2 Use Public Network (P2P) Mode
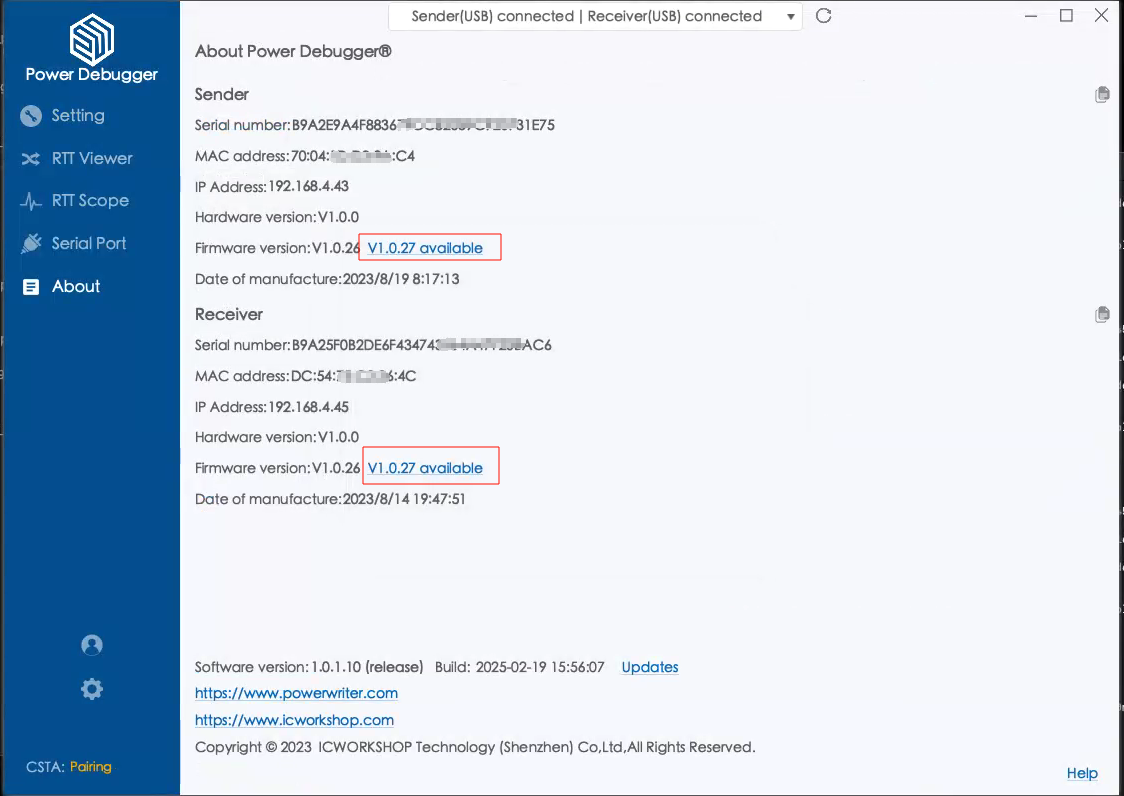
5.3 Firmware Version Update
To support ESP32 remote downloads, both the transmitter and receiver firmware need to be upgraded to the customized V1.0.27 version.
To switch the client to the official version:
Download and reinstall the official version.
To switch the firmware to the official version:
Open the client's "About" page, quickly and continuously click on the transmitter and receiver "Firmware Version:" 8 times, which will prompt the firmware upgrade dialog. Click "OK" to update the firmware.
6. Execute Esptool Download via Terminal
6.1 Check the Serial Port Number
On macOS, the serial port number is usually: /dev/tty.usbmodemxxxx
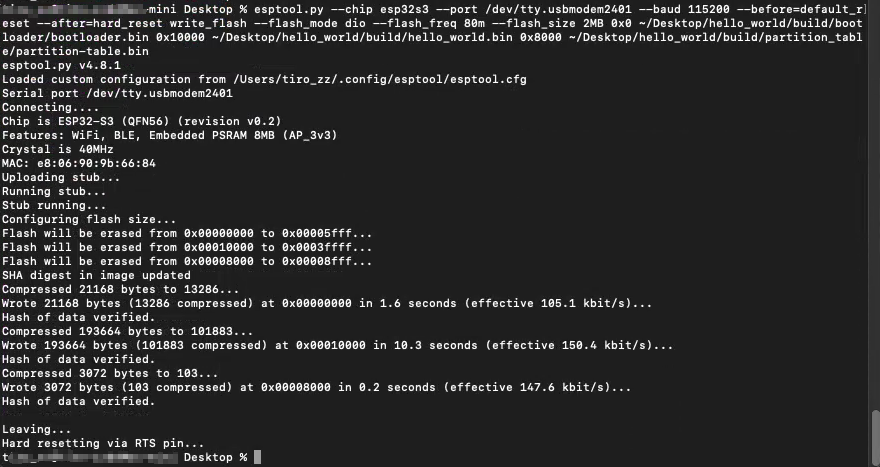
6.2 Execute the Download
(Support for this functionality is available in esptool.py version 4.8.1 and above. Users are advised to test with other versions independently to confirm compatibility.)
$ esptool.py --chip esp32s3 --port /dev/tty.usbmodem2401 --baud 115200 --before=default_reset --after=hard_reset write_flash --flash_mode dio --flash_freq 80m --flash_size 2MB 0x0 ~/Desktop/hello_world/build/bootloader/bootloader.bin 0x10000 ~/Desktop/hello_world/build/hello_world.bin 0x8000 ~/Desktop/hello_world/build/partition_table/partition-table.bin
7. Run and Debug Esptool in VSCode
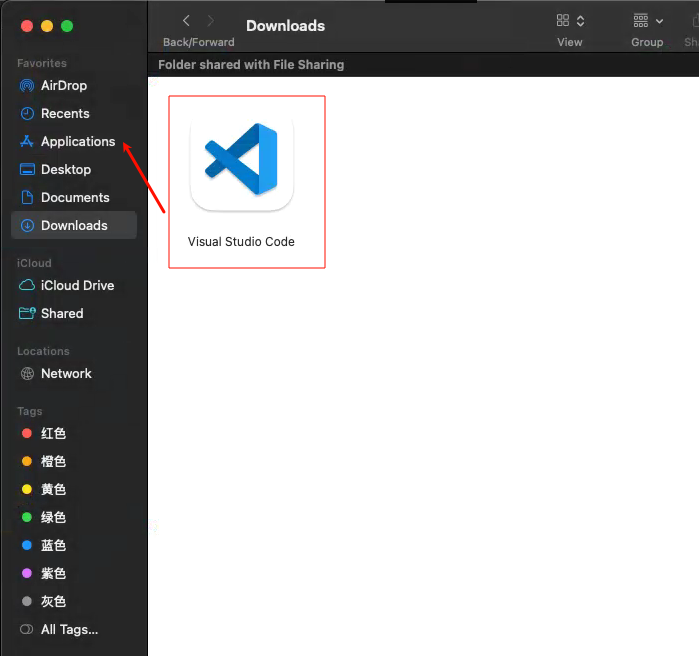
7.1 Install VS Code on macOS
Visit the official VS Code website:Visual Studio Code - Code Editing. Redefined
The homepage will automatically detect your platform and switch to the appropriate software version based on your browser information.

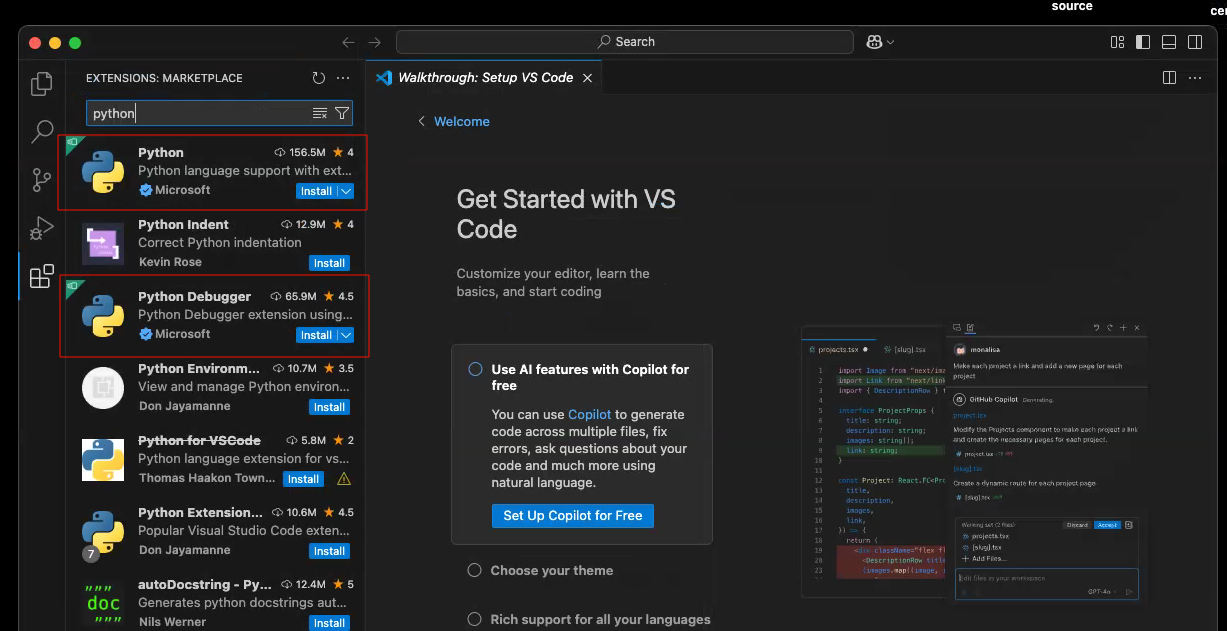
7.2 Install Python and Python Debugger Extensions
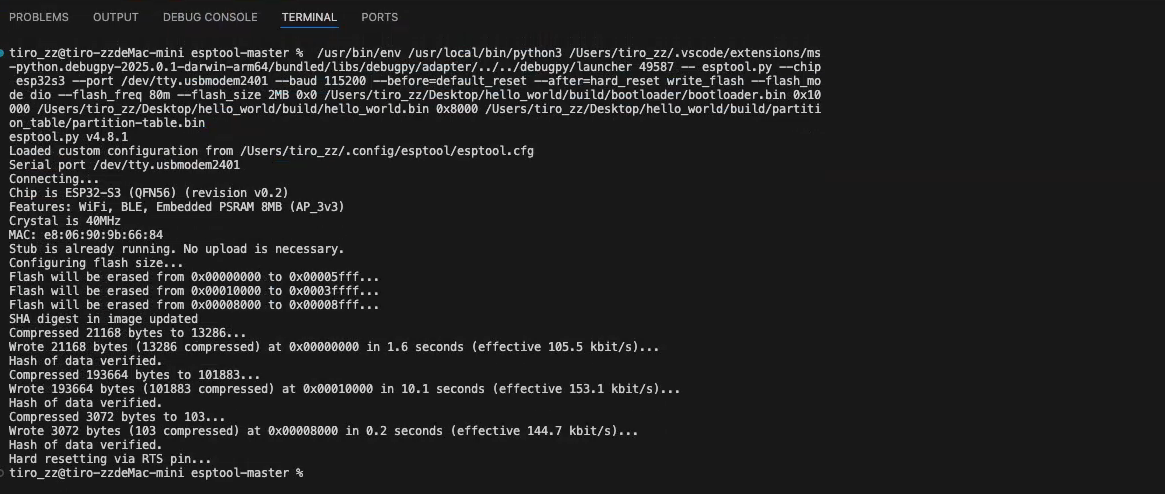
7.3 Run and Debug Esptool
7.3.1. Open the directory containing esptool.py in VS Code, and add the following configuration for running and debugging.
{
    "version": "0.2.0",
    "configurations": [
        {
            "name": "Python Degbug: esp32tool",
            "type": "debugpy",
            "request": "launch",
            "program": "esptool.py",
            "console": "integratedTerminal",
            "args": [
                "--chip", "esp32s3",
                "--port", "/dev/tty.usbmodem2401",      // PowerDebugger sender serial port number
                "--baud", "115200",
                "--before=default_reset",
                "--after=hard_reset",
                "write_flash",
                "--flash_mode",
                "dio",
                "--flash_freq", "80m",
                "--flash_size", "2MB",
                "0x0",
                "~/Desktop/hello_world/build/bootloader/bootloader.bin",
                "0x10000",
                "~/Desktop/hello_world/build/hello_world.bin",
                "0x8000",
                "~/Desktop/hello_world/build/partition_table/partition-table.bin"
            ]
        }
    ]
}
7.3.2.Run and Debug (F5).