5.8 esp32远程下载教程
1、ESP官方提供的esptool.py串口超时赋值小,远程下载程序时因为网络延迟或者波动导致频繁失败,不适用于网络访问因此对esptool.py修改超时。
2、PowerDebugger针对ESP远程下载进行升级和优化。
1. Python 下载&安装
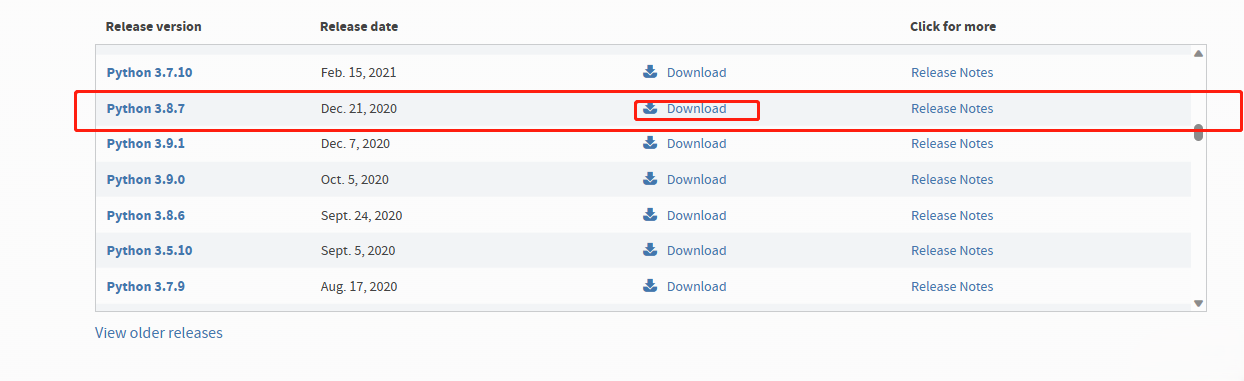
1.1 下载地址
下载地址为Download Python | Python.org

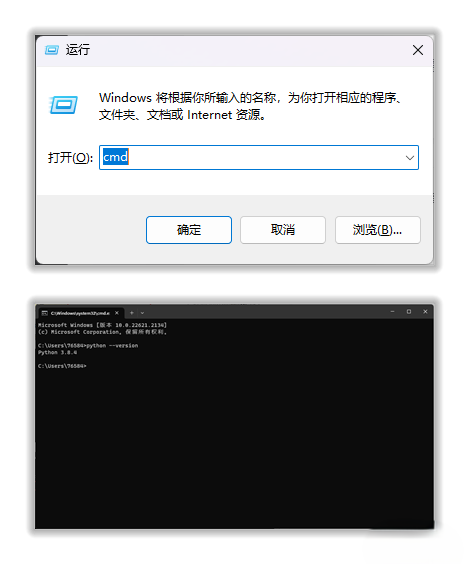
1.2 查看python版本
安装完成后,打开win+r输入cmd,输入Python --version查看python版本。
2. Esptool 安装|克隆
2.1 PIP下载方法
打开win+r输入PowerShell。
$ pip install esptool
$ esptool --version
2.2 克隆源码
打开Git bash。
$ git clone https://github.com/espressif/esptool.git
Esptool 在线文档:Esptool.py Documentation - ESP32 - — esptool.py latest documentation
Esptool git地址:GitHub - espressif/esptool: Espressif SoC serial bootloader utility
3. 调整Esptool.py超时
针对远程下载固件时由于网络状态不确定,需要手动调整esptool.py串口超时,修改并保存。配置文件所在路径。
- Linux:
/home/<user>/.config/esptool/ - macOS
/Users/<user>/.config/esptool/ - Windows:
c:\Users\<user>\AppData\Local\esptool\
Windows:
@echo off
set CONFIG_DIR=%USERPROFILE%\AppData\Local\esptool
set CONFIG_FILE=%CONFIG_DIR%\esptool.cfg

if not exist "%CONFIG_DIR%" (
    mkdir "%CONFIG_DIR%"
    echo Created directory: %CONFIG_DIR%
)

(
    echo [esptool]
    echo timeout=180
    echo sync_timeout=10
    echo md5_timeout_per_mb=80
    echo erase_region_timeout_per_mb=80
    echo erase_write_timeout_per_mb=80
    echo mem_end_rom_timeout=10
    echo serial_write_timeout=10
    echo connect_attempts=10
    echo write_block_attempts=10
) > "%CONFIG_FILE%"

echo Esptool configuration file created at: %CONFIG_FILE%
pause
保存到esptool_config.bat,双击执行。
配置文档:Configuration File - ESP32 - — esptool.py latest documentation
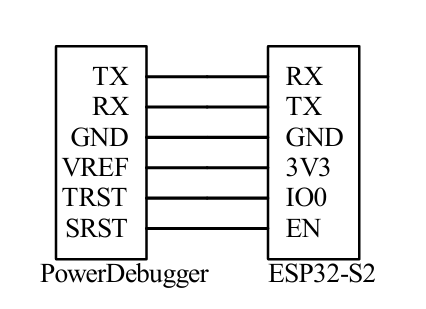
4. 接线
5. PowerDebugger 安装 & 设置
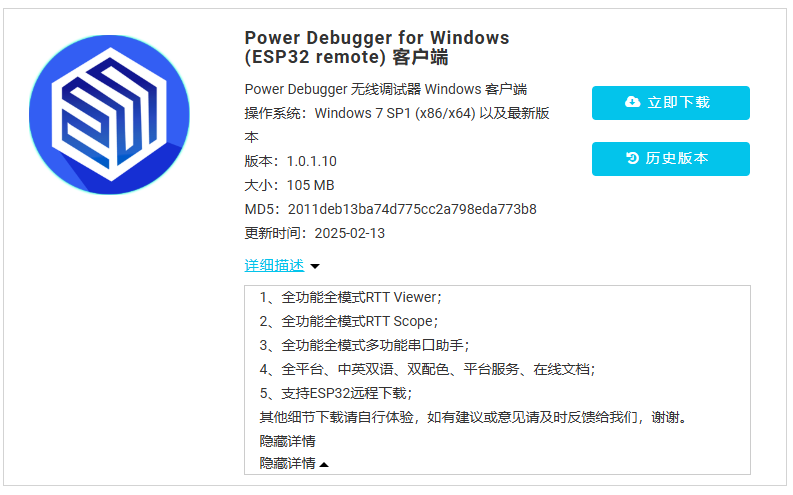
5.1 安装PowerDebugger(ESP32 remote)定制版
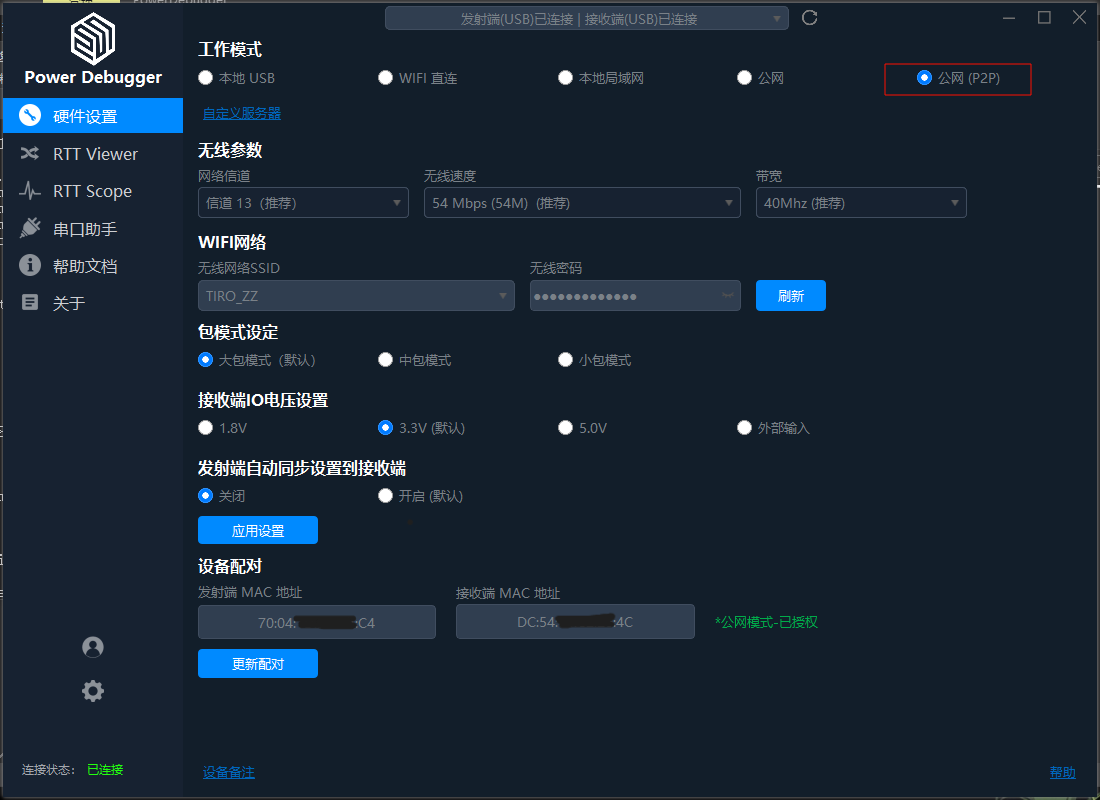
5.2 建议使用公网(P2P)工作模式
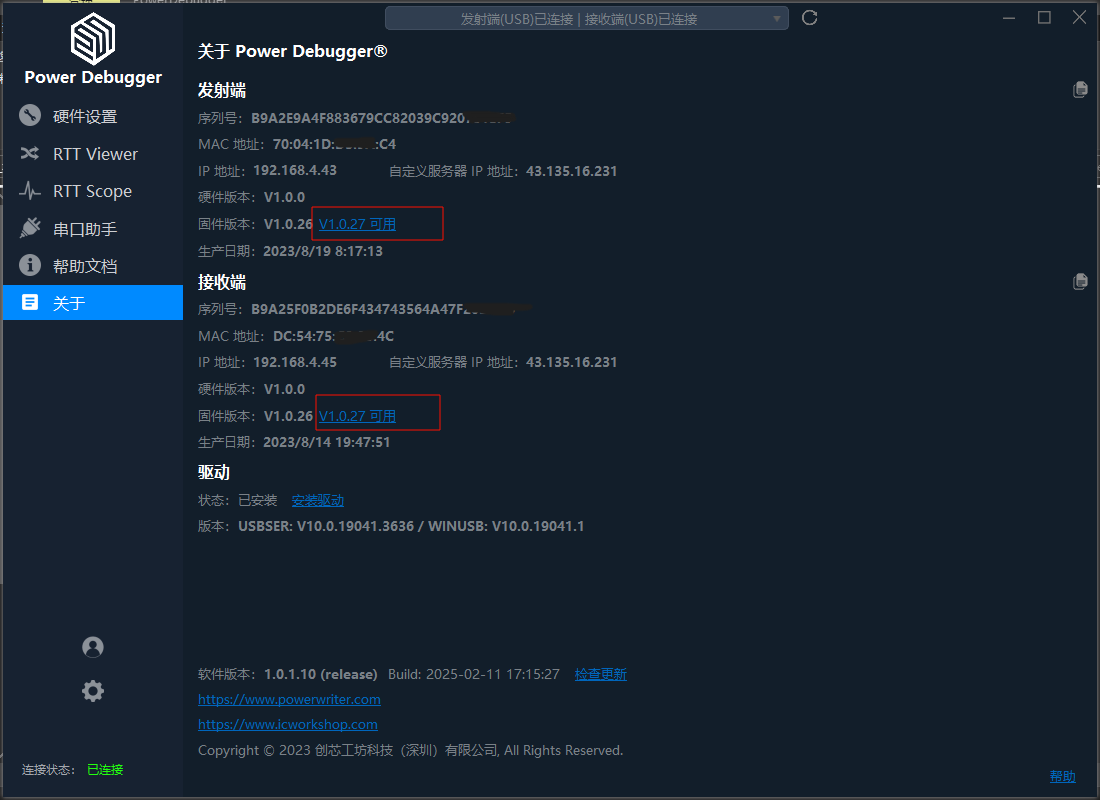
5.3 固件版本
支持ESP32远程下载,发射端和接收端固件需要升级定制的 V1.0.27版本。
客户端切换到正式版本2种方法:
1.下载正式版本重新安装。
2.手动删除c:\Users\AppData\Local\PowerDebugger\pdconfig.ini和upgrade.ini,重新启动自动切换回正式版本。
固件切换到正式版本方法:
打开客户端【关于】页,分别快速并且连续点击发射端和接收端【固件版本:】8次,即提示固件升级对话框,点击【确定】进行更新固件。
6.调试&远程下载
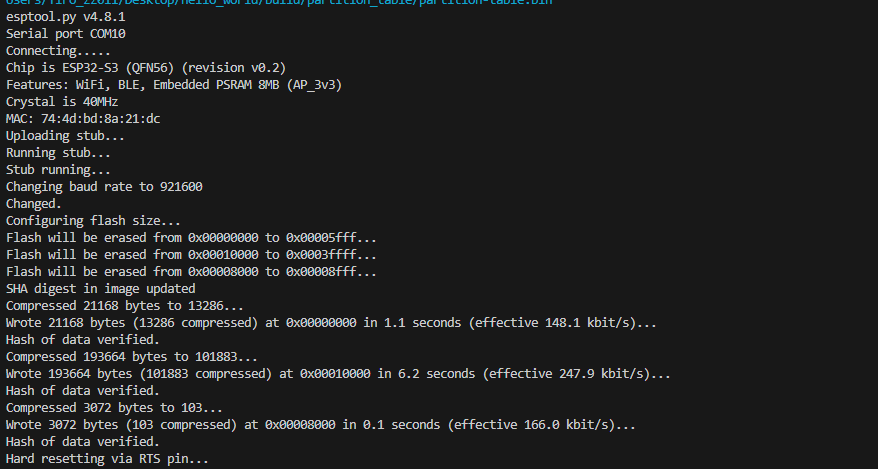
6.1 PowerShell执行Esptool
打开win+r输入PowerShell。
$ esptool --chip esp32s3 --port COM10 --baud 921600 --before=default_reset --after=hard_reset write_flash --flash_mode dio --flash_freq 80m --flash_size 2MB 0x0 F:/hello_world/build/bootloader/bootloader.bin 0x10000 F:/hello_world/build/hello_world.bin 0x8000 F:/hello_world/build/partition_table/partition-table.bin
6.2 VSCode运行并调试Esptool
Vscode打卡esptool.py所在目录,运行并调试添加配置。
{
    "version": "0.2.0",
    "configurations": [
        {
            "name": "Python Degbug: esp32tool",
            "type": "debugpy",
            "request": "launch",
            "program": "esptool.py",
            "console": "integratedTerminal",
            "args": [
                "--chip", "esp32s3",
                "--port", "COM10",          // PowerDebugger sender serial port number
                "--baud", "921600",
                "--before=default_reset",
                "--after=hard_reset",
                "write_flash",
                "--flash_mode",
                "dio",
                "--flash_freq", "80m",
                "--flash_size", "2MB",
                "0x0",
                "F:/hello_world/build/bootloader/bootloader.bin",
                "0x10000",
                "F:/hello_world/build/hello_world.bin",
                "0x8000",
                "F:/hello_world/build/partition_table/partition-table.bin"
            ]
        }
    ]
}